I recently wrote a feature article in Digital Photography that explores the intricate details of working with wide open apertures. Shallow depth of field is second nature to me, so stepping back to document and describe the processes that happen inside my brain was difficult. There is always a divide between the technical and the creative for me, but in this instance a little bit of tech can lead to a lot of create.
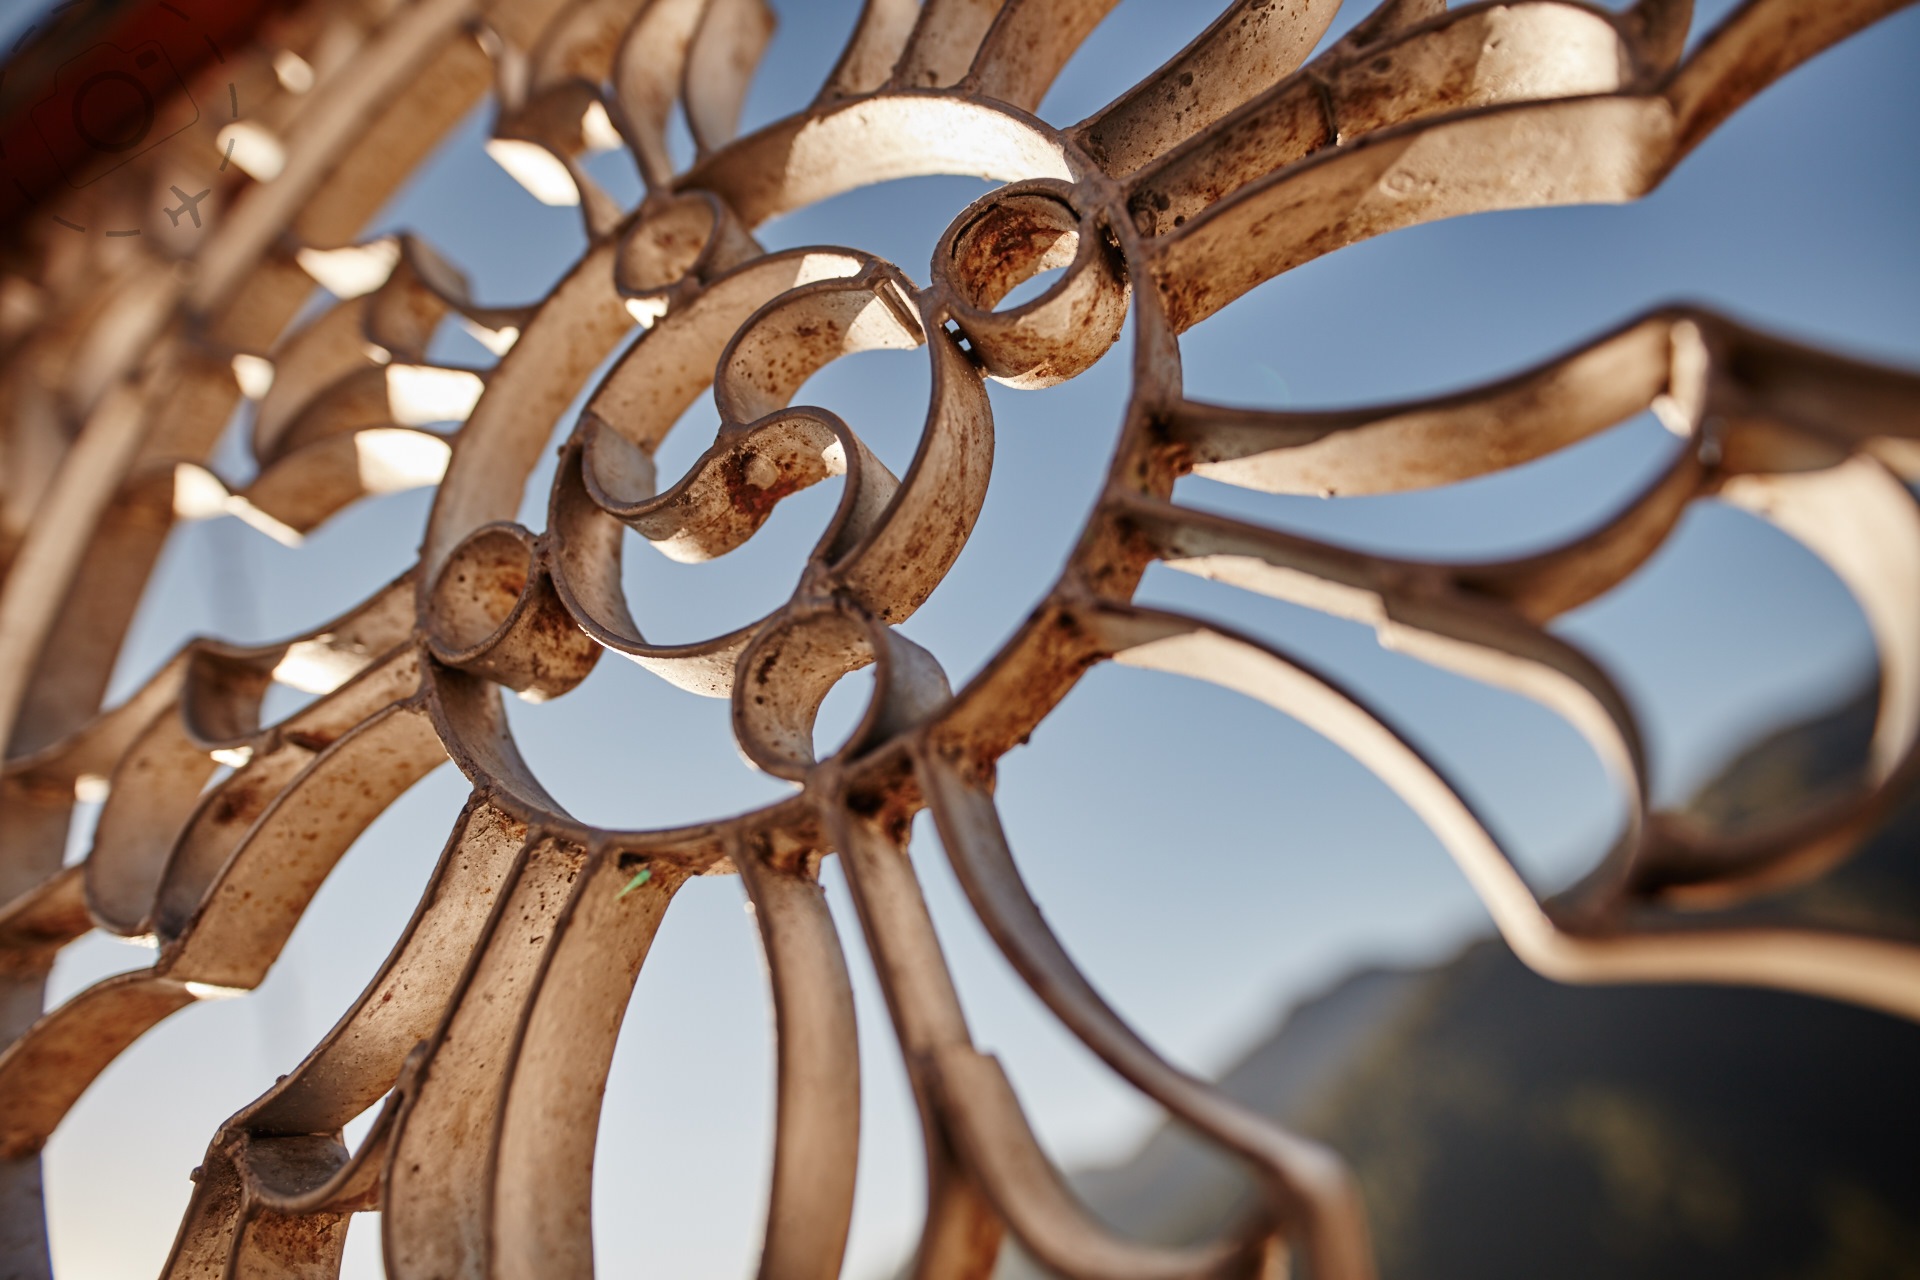
The art of shooting with a narrow depth of field is a process of simplification, of removing details where it’s not needed and limiting the plane of focus to what truly matters. The lower the f-stop the more dramatic that simplification becomes. Less is more. Few techniques will have as powerful effect on your photographic expression as the depth of field. Once you get a handle on it, the ability to create an image from chaos opens up entire new worlds of visual compositions.
The Beginning
Getting started on shooting wide is not easy for many of us. The first problem is that typically we don’t experiment with a fast enough lens. If you bought a DSLR with the “kit lens” then chances are your widest aperture might be around f/4.5 or worse. This won’t give you shallow depth of field, it just gives you soft foregrounds and exposes the aberrations of a budget lens design. Not a lot of inspiration to be had with a cheap lens.
Sometimes the kit lens that comes bundled with a camera is a little more capable though, perhaps as fast as f/2.8. These are often good quality right through to the widest aperture, but you’re still not getting a powerful demonstration of what shallow depth of field can offer. Only in certain situations does f/2.8 give you a creative effect. You need to push a little harder.
To really experiment with this idea you should look for an f/1.4 lens. If you’re shooting with a smaller DSLR (partial frame sensor or APS-C) then f/1.4 is extra important. If you have a Micro-Four Thirds such as the Lumix G-series or Olympus OMD then f/1.4 is essential to get into the game. The smaller the sensor the greater your depth of field in the captures.
50mm Magic
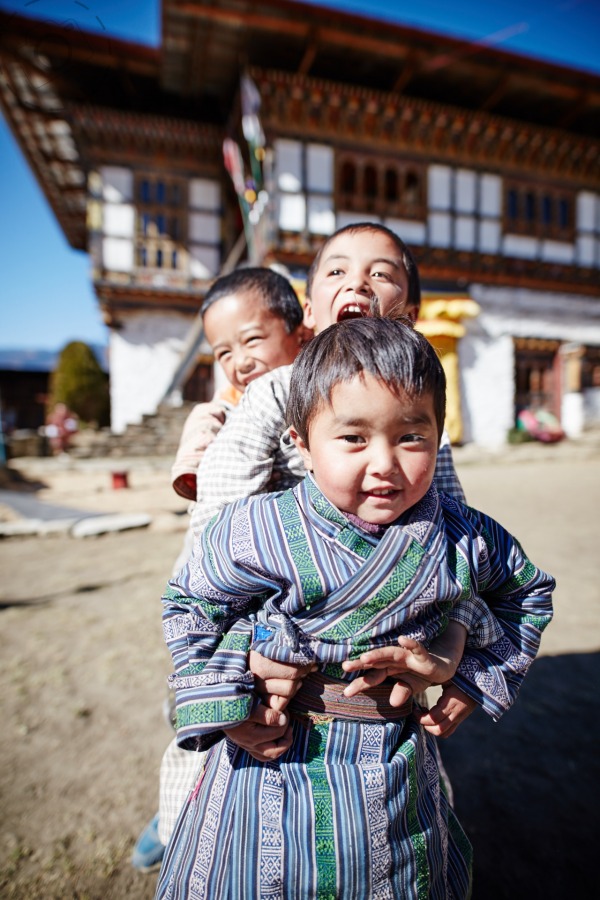
A great starting point for shallow depth of field is the 50mm prime lens. These are among the most affordable primes available and you can do a lot with them. 50mm is the go to lens for my food photography work, and is also ideal for street photography and portrait work. They are versatile, modest to carry and effective.
Still life photography works well with a 50mm perspective, because it’s not too wide to control the scene but is wide enough to embrace a little context. Shooting with a 100mm or longer is not a great idea for food photography and still life, as it flattens the scene and removes that sense of depth within your compositions. And a fast 50mm can get you down to f/1.2 if you have the dollars. The richness in bokeh and soft background you can achieve on a good 50mm is incomparable to an f/2.8 telephoto.
Portrait work is also a peach with the 50mm primes. I hear a lot of people talking about 85mm or longer as though this is the ‘default’ focal length for portrait photography. It’s not. The longer the lens the more you’re stalking your subject, not photographing them. Your connection with a person is evident in the photograph, and standing across the street to steal images of strangers is not portrait photography.
Long lenses also create a flatness in a scene, compressing the distance between elements. Most importantly though, they make it harder to bring context of any sort into the frame. Go and spend a few hours in a local market and shoot portraits of the people you meet, and then review your shots. If you used an 85m lens or longer then all your shots are going to look pretty much the same. You’ll have no room to move, to space to compose. They’ll all be a tight frame with most of the head and little else. It’s a recipe for dull and impersonal photography. The 50mm perspective let’s you work much closer, vary between more context or intimate closeness, and still offers a powerful shallow depth of field that makes the subject pop from the surrounding scene.
Street Chaos
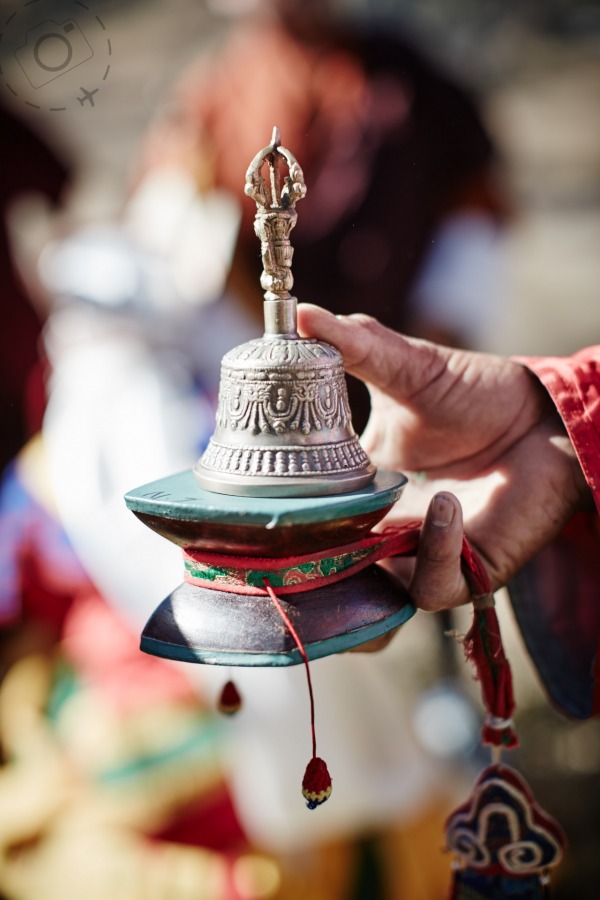
The key to great street photography is not trying to capture every little detail up and down the street, rather it’s pulling a single detail within that chaos. Taming the background with soft focus allows the feeling of a place to come through, without distracting from the hero of your shot. Just because the rest of the scene is out of focus doesn’t mean it’s not adding to the picture. Far from it.
Part of the joy when shooting with a wide aperture is that you don’t feel the same urgency to hide or crop out background elements. A few telephone poles or unwanted coke bottles in the background no longer become eye magnets. There’s a process that we fall into when learning to photograph, where we crop and crop and crop. We are drawn to telephoto lenses because they discard objects we don’t want from our field of view, then we reframe to avoid things in the shot and then we often start cropping the RAW file afterwards too.
Our mental process becomes one of reduction. Constant reduction. It’s a pathway to very unsatisfying compositions, because we keep removing everything that could otherwise add detail, context or layers. Creatively is killed by cropping.
Wide is Wonderful
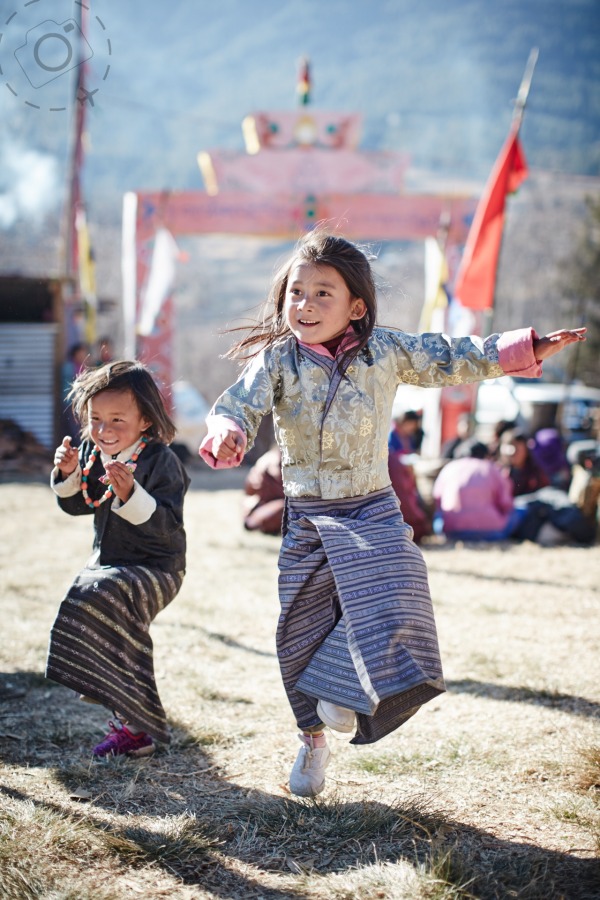
The antidote to cropping is to embrace both wide angle and wide apertures. Shooting street scenes with a 50mm prime allows you to focus on the primary subject, and allow more of the street scene to flow into your shots. It’s the exact opposite of cropping, you are instead trying to bring into the frame as much information as possible.
But don’t stop at 50mm. One of the best lens purchases I ever made was on a whim at the time, a 24mm f/1.4. It’s not ultra-wide but 24mm is very generous for wide angle and f/1.4 is very powerful for shallow depth of field. Typically I shoot at f/2 but sometimes I do go all the way down just to get the maximum effect.
The further away a subject the less impact your wide aperture will have. Relative distance has the effect of making compositions with a near subject more dramatic, with much less effective depth of field.
My 24mm lens is over a decade old now, but still working a treat. I had it serviced by Canon a few years back when the focus went whacky. I was shooting about 80% of my work with that lens although today I use my 50mm a little more because still life and food photography is a big part of my commercial income.
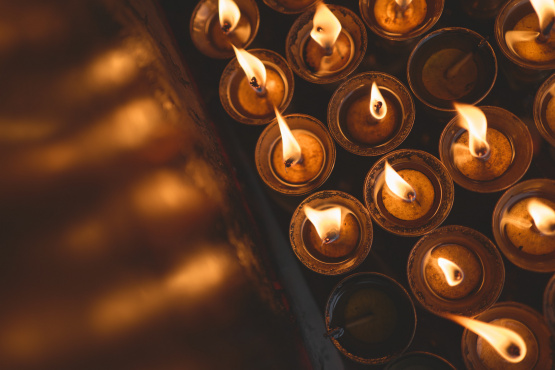
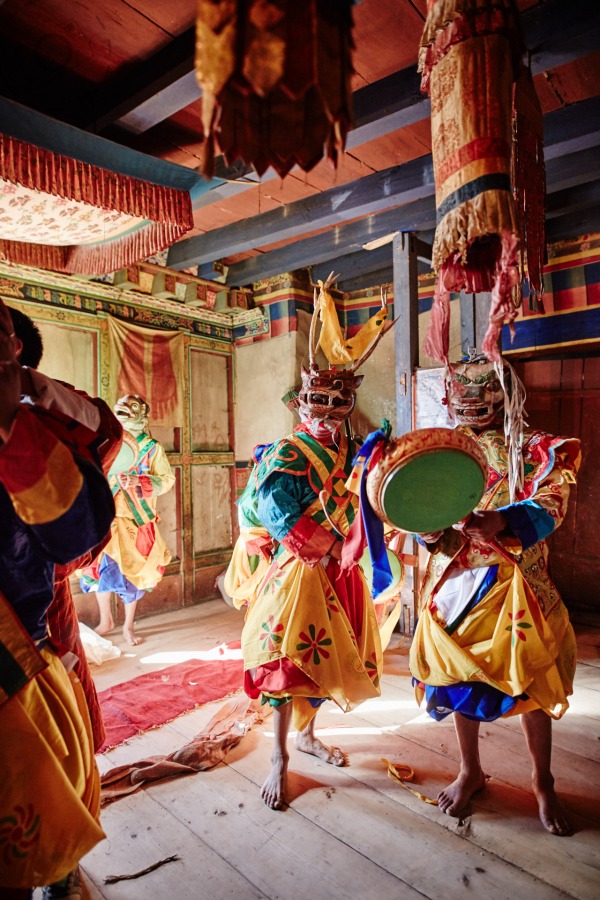
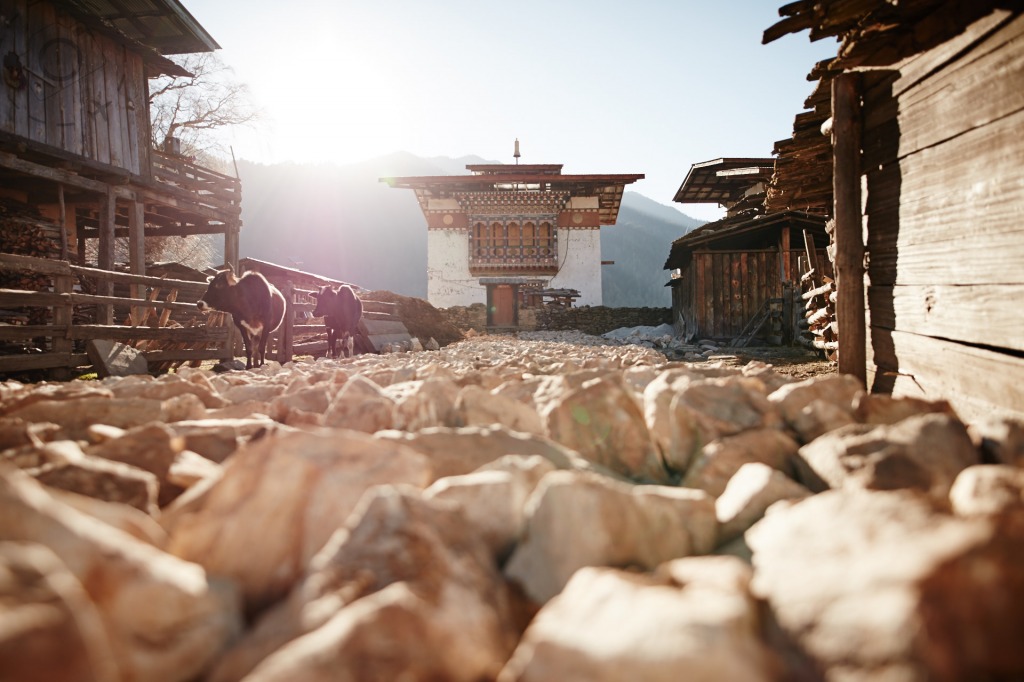
On a trip to Bhutan last year I took another wide angle prime along for the ride, a gorgeous new 20mm f/1.4 by Sigma. It’s a little bigger than my 24mm and has a curved front lens to make it awkward for filters. In Bhutan this wasn't an issue, and that extra wide angle was amazing when shooting inside dark temples where the room is tight. I love seeing the world through a different perspective as often as possible, and can highly recommend the Sigma 20mm f/1.4.
Landscapes Too
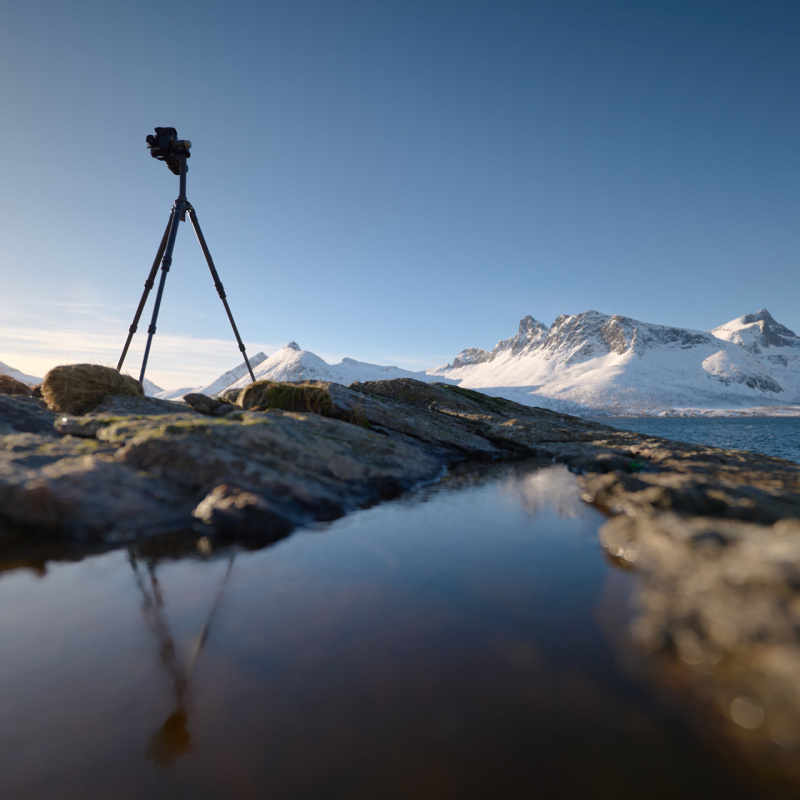
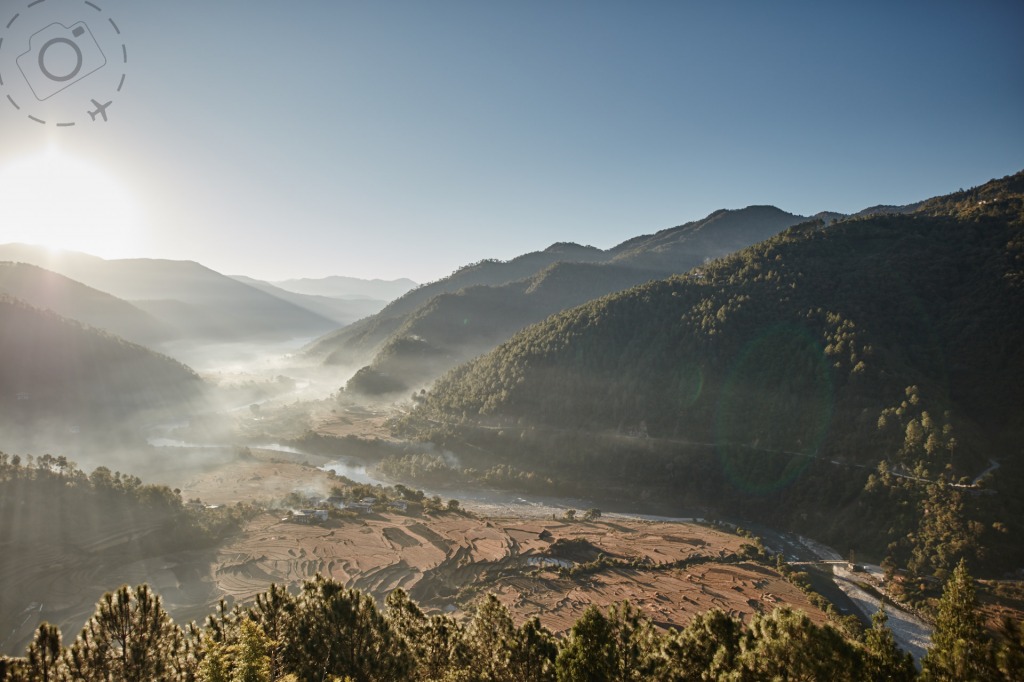
This may sound crazy but landscapes are worth thinking about through a wide aperture as well. There are two instances where this becomes evident; shooting into the sun and shooting through a foreground layer.
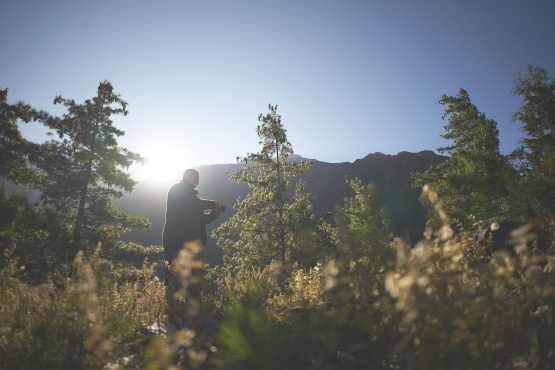
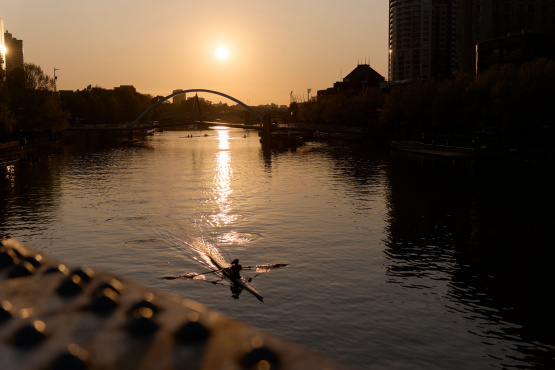
I’ve written an article recently on why and how to shoot into the sun for effect. I love the look of soft lens flare across a scene, the way it turns errant light into flourishes of art. I think of them as adornments to the scene, not distractions. The wider your aperture the softer these flares become. You can read more about this idea here:
https://photographyfortravellers.com/article.php?story=1235
On a recent trip to Flinders Ranges in South Australia we found ourselves shooting in vast open landscapes, flowing with wild grasses and broken only by occasional trees or a farmstead. In these simple landscapes I often try to add another layer by standing right up close to a bush or tree and letting the intense bokeh of a soft foreground add a frame to the scene beyond.
It’s been a valuable tool when shooting commercial work for tourist boards, not just for my own personal work. Magazines find it useful to have a soft layer to run copy across, or to place branding as part of an advertising campaign. For me the simple idea of bringing in additional layers is what makes it work. It is the exact opposite of ‘cropping’, to find more elements that can be dragged into a scene and add some complexity.
Control your focus
This is what makes shallow depth of field difficult at first. It’s surprising how many of us are not used to be fully in control of the camera, but shooting at f/2 demands that you direct the auto-focus system with confidence. I setup my camera with a single point of focus and employ the half-shutter press to lock my focus. I don’t have continuous or AI focus modes switched on. I get my focus lock, reframe the shot and then commit the frame. It’s a relatively simple procedure and one that is easy to reproduce under pressure.
I use two more features of the camera to aid my hit rate though. I have the continuous frames set at all times and I grab a series of images, not just one. I might be moving gently to adjust the focus plane for example, or allowing the movement of my subject to pull through the plane of focus. Either way I have lots of frames to chose from at the end.
You never show people the frames that didn’t work, you only show them the winners. With that in mind I not only shoot continuous bursts, but I reshoot a scene several times as well and grab a new focus lock with each burst. I am simply increasingly my odds of nailing the precise detail that matters most to my desired composition.
Comfort Zone
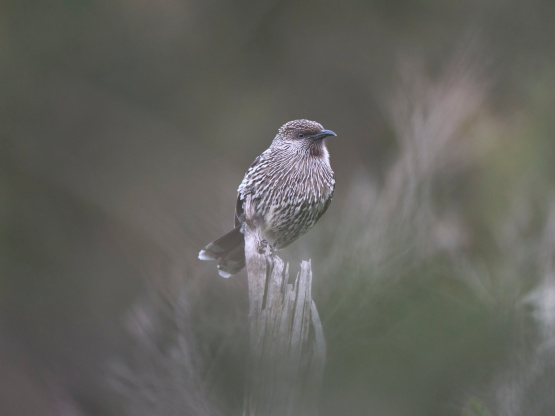
My happy place is f/2. I use this a lot with a wide angle prime, like the 24mm or 20mm. It’s also the baseline for my 50mm shooting, be that portraits or food photography. When shooting wildlife I need a longer lens, so I just go with the minimum f-stop on my telephoto zoom. I took a Sigma 150-600mm to the Shetland Islands to shoot puffins and loved the soft bokeh it delivered at 600mm. You don’t have to work that hard to get shallow depth of field, but you do need to carry a good lens.

Keep Reading
Join Ewen's newsletter for monthly updates on new photography articles and tour offers...Subscribe Here

